1.22.2013

Bloomin' Butterfly

It's finally here!  Stampin' UP!'s biggest bonus of the year, Sale-A-Bration.  For every $50 you spend before tax/shipping, you can choose an item from the 2013 SAB catalog.  (Jan. 22- Mar. 22, 2013)    There is no limit.  Once your reach $150 you can get hostess credit (stampin' rewards) in ADDITION to your free SAB items.  So, do you know what you want yet?  


Over the next week I will be showing you some of my SAB cards.  Each card will have at least one item from the SAB catalog on it.  Hopefully this will help you decide on what you want.  Me, I want almost all of it.  :D


The sentiment is from the new Bloomin' Marvelous stamp set (SAB),  I cut it out using the Hearts A Flutter Framelits.  After taking this picture I noticed that my butterflies were missing their pearls.


That's better.  My butterflies were inspired by a card my upline's upline, Dawn Griffith, showed on her blog yesterday.  She punched out the larger butterfly in DSP and the smaller one in cardstock.  Mine were done the same way using Sycamore Street DSP (SAB), but I needed a bit more sparkle for my little ones. 


I stamped first with the butterfly from Bloomin' Marvelous using Versamark, then sprinkled Iridescent Ice over that and heat set them before punching the little butterflies out with my new Bitty Butterfly Punch.


For sketch inspiration I turned to this week's Retro Sketches. 


Creative Blessings,
Heather North

Stamp: Bloomin' Marvelous (SAB)
Paper: Sycamore Street DSP (SAB), Cardstock: Pool Party, Rich Razzleberry, Whisper White
Ink: Versamark, Illuminate Glimmer, Pool Party
Misc.: Basic Pearls, Iridescent Ice, Apothecary Accents Framelits, Hearts A Flutter Framelits, Adorning Accents Framelits, Pool Party Ruffled Ribbon, Elegant Butterfly Punch, Bitty Butterfly Punch

1.21.2013

It's Coming ~ SAB Sneak Peek

Are you getting excited for SAB?  I know I am.  Last night I went to my craft room to start playing with all my SAB goodies.  (I just love that SU lets their demonstrators earn these freebies early!)  I had so much fun that I stayed out there until almost midnight.  
Sale - A - Bration starts tomorrow, but I have a sneak peak for you today.

Can you spot the SAB products?  Ribbons and paper and stamps OH MY!

Spring is on its way.  I'll show you this card tomorrow!

Sycamore Street Ribbon and Button Pack
Creative Blessings,
Heather North

1.20.2013

Scrapbook Sunday ~ Background Stamping

I still remember my first SU party.  I asked the demonstrator if we could use stamps in our scrapbooking and she didn't really know.  If she had been a scrapbooker and could show me how to combine stamping and scrapbooking I probably would have signed up with her years ago. 


On this page I finally figured out how to combine the two.  Admittedly I need some work.  This page would have looked so much better if I had done the stamping first instead of adhering it to my background page and trying to stamp it in my book.   Live and learn.


What I do like is how the background stamp filled in the "empty" space around this picture and balanced the page for me.  Yes, you can combine stamping and scrapbooking.  Hopefully I will be able to teach myself more, or finally be able to find somebody else to show me how.  If not, you will see me grow if you follow my blog.  Everyone has to start somewhere, right?
 
Creative Blessings,
Heather North
 

Everything Eleanor Clear-Mount Stamp Set
Everything Eleanor


Chocolate Chip Classic Stampin' Pad
Chocolate Chip Classic Ink
(or was it Soft Suede, maybe it was Early Espresso...I can't remember.  :p)


Clear Block F - by Stampin' Up!
Clear Block F
Clear Block E will work in a pinch


1.18.2013

Stitched Hearts A Flutter ~ January Thank You Card

Friday has arrived!  It's my favorite day of the week because it holds all the promise of the weekend.  That's probably why I like to share a video on Fridays when I can.  It's my way of sharing the love.

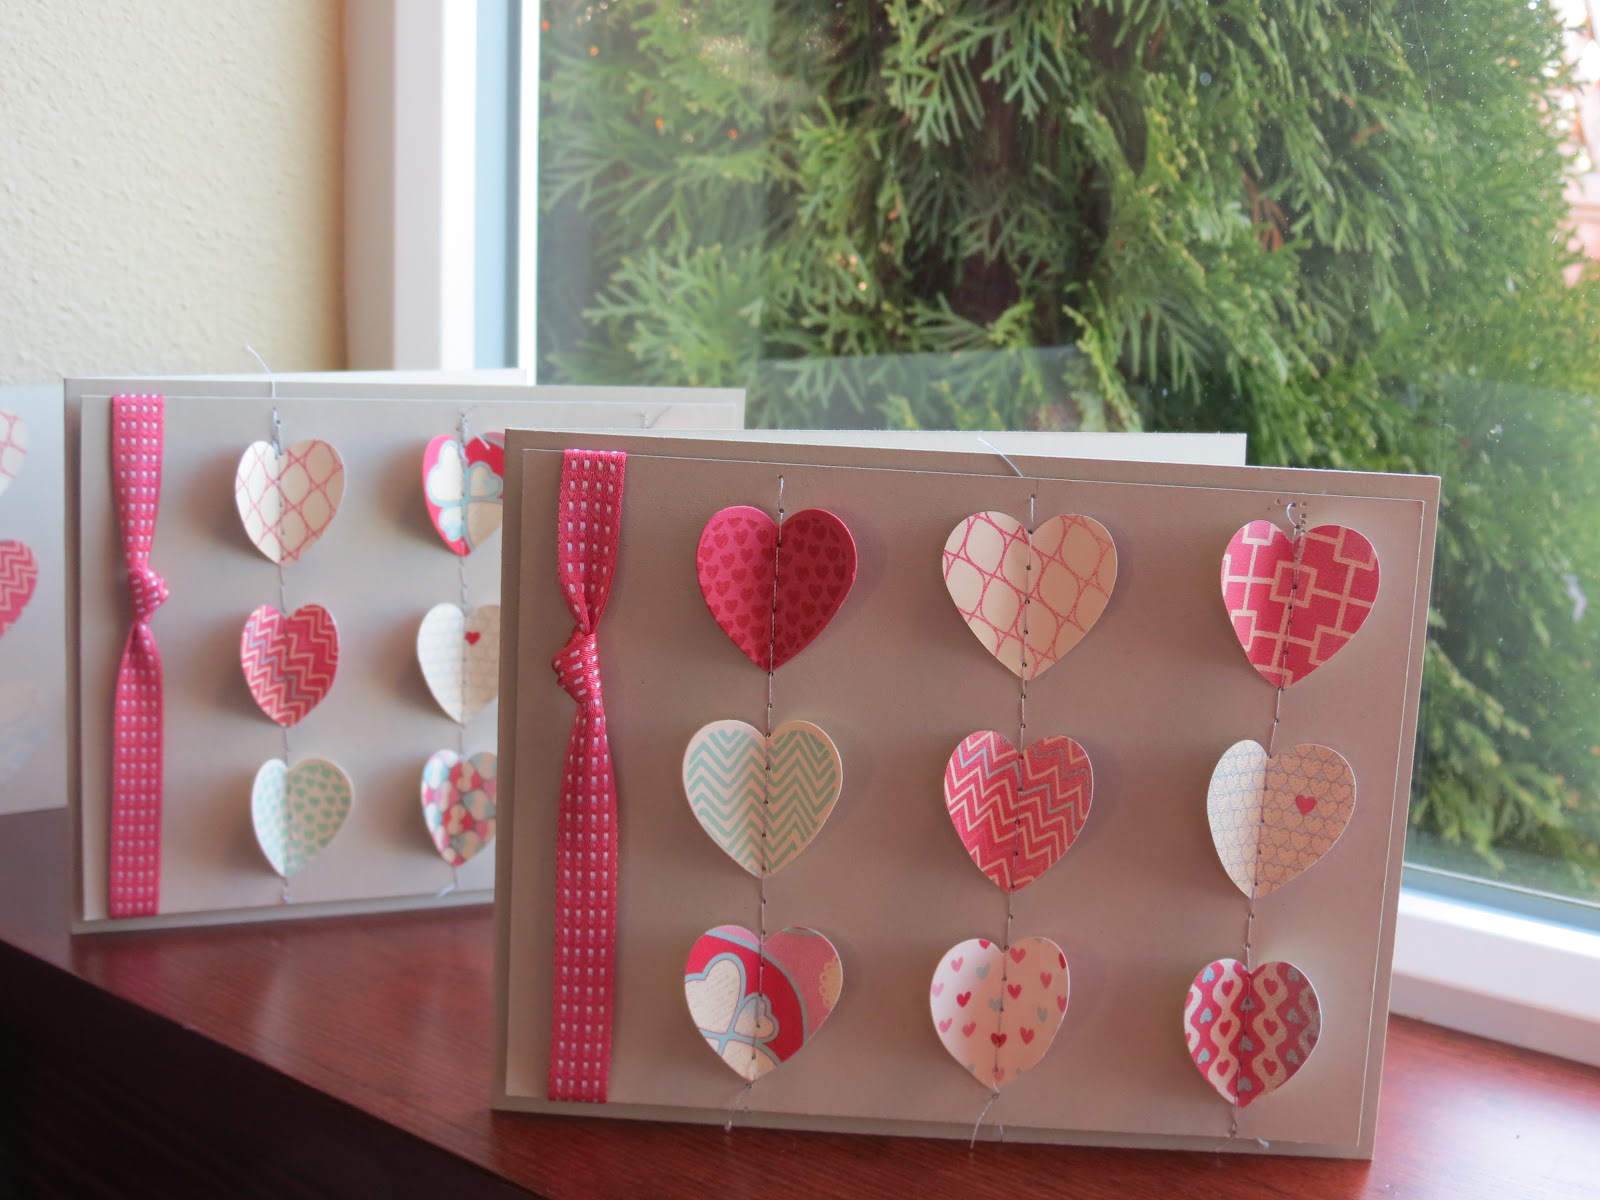
These are my January thank you cards.  Everyone who places a Stampin' UP! order with me will receive one of these sweet heart cards. 


In the video below you will see how I created this card along with some tips to make one yourself. 
***Note- you may need to visit my blog to see the videos.


The card has dimension, but it is still "flat" enough to mail.  


Thank you to all my customers for choosing me as your Stampin' UP! Demonstrator. I truly do appreciate your business.


Creative Blessings,
Heather North

Card Recipe:
Stamps: Hearts A Flutter
Paper: Sahara Sand, More Amore DSP, Very Vanilla, Primrose Petals (not all colors are on all cards)
Ink: Primrose Petals, Real Red, Pink Pirouette, Pool Party (not all inks used on all cards)
Misc.: Hearts A Flutter Framelits, Primrose Petals Stitched Satin Ribbon, Sewing matching & gray thread


Hearts a Flutter Bundle Clear
Hearts A Flutter Bundle


More Amore Specialty Designer Series Paper
More Amore DSP

Primrose Petals 3/8" Stitched Satin Ribbon
Primrose Petals Stitched Satin Ribbon


1.17.2013

Winter Scene

Today's card was made for a StampNation challenge to create a winter scene.  I ended up not using it for that challenge and used it for a different challenge.  I love the silhouette look of the bird, but I'm not 100% satisfied with my "scene".  Do you ever feel that way about the cards or layouts you make?  It happens to me often. 


Actually, looking at it right now, I think I figured out what the problem is.  I have a "snowbank" in the "sky".  I think if I left off the top snowbank and just had more sky at the top this card would look much better.

 
The challenge I did use this card for was to add some sparkle/glitter to your card.  It's hard to see in the picture, but I ran my 2 way glue pen along the curves of the snow and then sprinkled Dazzling Diamonds over the glue.  Yes my room sparkled after making yesterday and today's card.  I made one more card while I had glitter all over the place, but I can't show you that one just yet.  ;)

Creative Blessings,
Heather North


Serene Silhouettes Clear-Mount Stamp Set
Serene Sillouettes


Island Indigo 3/8 Inch Ruffled Ribbon - by Stampin' Up!
Island Indigo Ruffled Ribbon


2-Way Glue Pen - by Stampin' Up!
2-Way Glue Pen


1.16.2013

Glittery Snowflake Card

Have you ever seen the way sunlight hits snow and ice?  It's a beautiful sparkly, glittery thing.   Lately we have had a lot of ice around here.  I love to see how it makes everything sparkle like it's been sprinkled with dazzling diamonds.  (I'm not so fond of driving in it though.)


This snowy card reminds me of the way my balcony looks on a frosty morning.  I just love it!  It's a good thing I do, because I am covered in glitter after making this card.  :) 

Can you spot the sneak peek at a Sale-A-Bration item?  Oh Happy Day!  It's almost SAB time!!!


It's hard to capture the sparkle in a picture.  You can see it bit better in the video below.  I made the card weeks ago, but I filmed the video late last night.  Sorry if I sound a bit sleepy...  I am.  :)

***Note- if you are not on my blog right now, you may need to go to my blog to watch the video.


Let me know if you try this technique.  It really gives a nice result.  You can use it for smaller punches of paper too.  That's what I have done in the past.  This is my first time covering the entire backdrop.  It won't be my last though.   Thank you, Kristie for reminding me of this technique and for letting me know how to do it using SU products.


Creative Blessings,
Heather North


Big Shot Multipurpose Adhesive Sheets - by Stampin' Up!
Big Shot Multipurpose Adhesive Sheets


Snowflake Textured Impressions Embossing Folder Die - by Stampin' Up!
Northern Flurries Embossing Folder

Dazzling Diamonds Stampin' Glitter - by Stampin' Up!
Dazzling Diamonds


1.15.2013

Believe Deer

Sometimes we have to work on faith and believe.  You could send this card at Christmas, but I am using it as a masculine "Get Well Wishes" type card for a family member battling cancer.   Keeping up hope is an important part of battling cancer.   I made this card to encourage my uncle in his fight.


The Christmas Deer was embossed with Early Espresso Embossing Powder.  My versamark pad needed to be re-inked so I didn't get complete coverage on my image.  That's ok though.  It adds to the rustic feel of the stamp.  I've since ordered a refill for my versamark.  :) 


Don't you just love when you can use a stamp set in a unique way?  I think I like the script in Snowflake Soiree even more than the snowflakes.  Now I just need a card using "Merry".  Any ideas? 


This would make a great masculine birthday card if you change out "Believe" for a birthday greeting.


Creative Blessings,
Heather North

Stamps: Christmas Deer, Snowflake Soiree
Paper: Champagne Glimmer Paper, Very Vanilla, Crumb Cake, Early Espresso
Ink: Versamark, Early Espresso
Misc.: Scallop Square Duo Die, Decorative Label Punch, Large Oval Punch, Early Espresso EP


Christmas Deer Clear-Mount Stamp Set
Christmas Deer


Scallop Square Duo Bigz Die - by Stampin' Up!
Scallop Square Duo Die

Snowflake Soiree Clear-Mount Stamp Set
Snowflake Soiree

Versamark Ink Refill - by Stampin' Up!
Versamark Re-Inker
(Should have used this, but I didn't have any.)


1.14.2013

Hello, Snow Girl

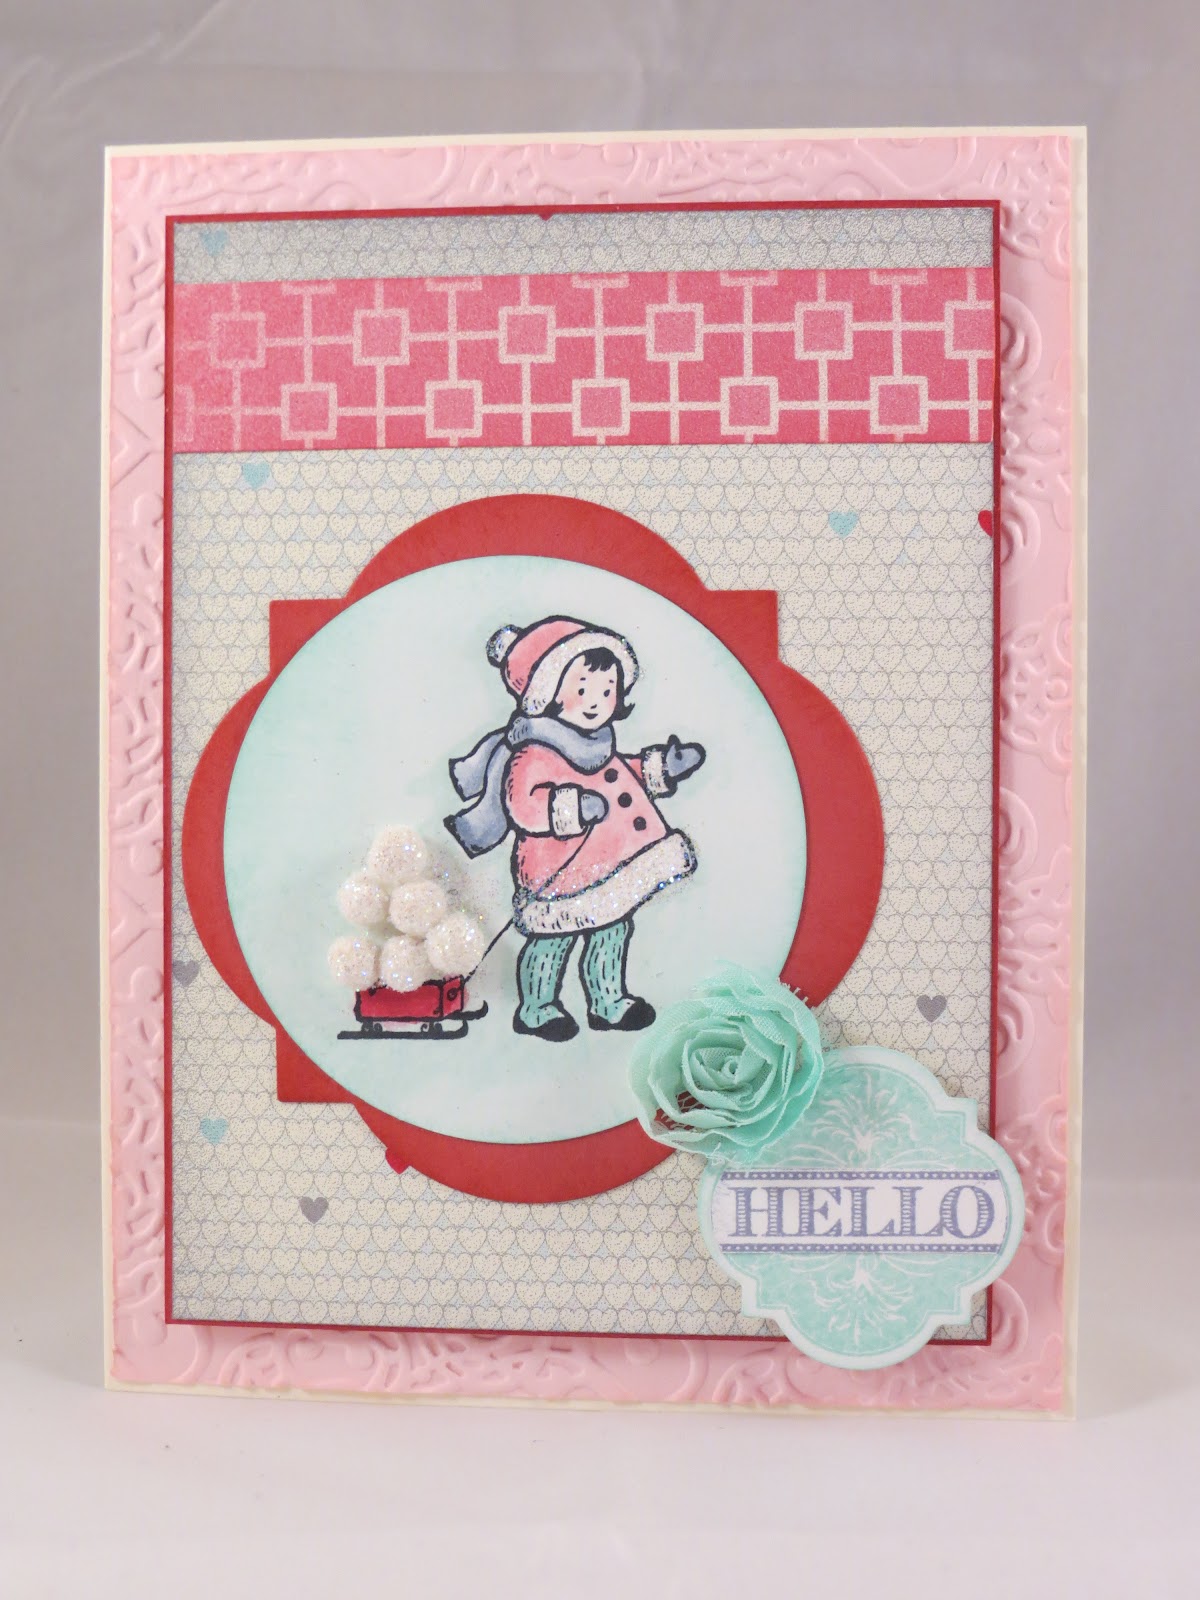
Greeting Card Kids is such a cute stamp set.  Every season I make at least one card using these adorable images.  For today's card I wanted a winter feel, but I didn't want to use the Christmas tree.  Here is what I came up with.


I was going to film a video showing you how I "lost" the tree, sparkled up the snowballs and colored the flower, but I ran in to a couple of snags.

Snag 1- No more snowballs.  We have had ice and snow and freezing rain here today (ironic isn't it) and I try not to drive when the weather is bad like it has been the past few days.  If it warms up enough to melt the ice I will go to town for more snowballs.


Snag 2- My house needed a major cleaning.  Over the weekend we moved around furniture and cleaned upstairs.  Outside we took down Christmas lights and moved the Christmas decorations out to the shed.  We also did a bit of cleanup outside.  So, today it was a matter of moving furniture downstairs and cleaning up all the mud we tracked in.  With Christmas all put away I felt the need to wash windows, vacuum around the baseboards and clean under the toaster in the kitchen.  By the time I finished that it was time to start dinner.  (and mess up my clean kitchen again!)


So, if you are interested in a video showing you how to make this card, please let me know with a comment below.  I'll film it after I find some more "snowballs". 


I'm excited that my house is clean.  That means tomorrow I can play in my craft room until it's time to pick up the kids from school.   :)  Oh, glorious day!!!

Creative Blessings,
Heather North

P.S.  It's almost 11pm, and I am finally getting today's post in.  I still have an hour to spare.  ;)

Card Recipe:
Stamps: Greeting Card Kids, Friendship Preserves
Ink: Pool Party, Riding Hood Red, Wisteria Wonder, Regal Rose
Paper: More Amore DSP, Whipser White, Very Vanilla, Primrose Petals, Pink Pirrouette,
Misc.: Windows Framelits, Lacy Brocade Embossing Folder, Blender Pen, Dazzling Diamonds, and more...


Greeting Card Kids - Clear-Mount Stamp Set - by Stampin' Up!
Greeting Card Kids


More Amore Specialty Designer Series Paper
More Amore Specialty DSP

Blender Pens - by Stampin' Up!
Blender Pens


Friendship Preserves Clear-Mount Stamp Set
Friendship Preserves


1.13.2013

Scrapbook Sunday

Are you watching one of the big playoff games today?  Perhaps you are just getting home from church or getting ready for your Sunday afternoon nap.  I'll probably do all 3. :)  But I do hope to get some scrapbooking time in today too.  I can't think of a better way to spend my free time than getting creative.  Saving our family memories and pictures is at the top of my "Creative Time Well Spent" list.


These pages show you don't have to spend a lot of time, nor have a ton of supplies to scrapbook.  It's all about the pictures and the story.   These pictures are from our family trip to Mt. St. Helens.  I really wanted to include lots of the landscape pictures, so I just trimmed them to 3 3/4 inches so the I could do 2 rows of 3 pictures on the right hand side.


A well place stamp or vellum print can make a lovely title.   You can create your own tag using MDS 2 and printing it on to vellum on your home printer.  Just be sure to allow plenty of time for the ink to dry.  To add my own touch to this vellum I mounted it on Island Indigo cardstock and added some basic rhinestones to the butterflies. 

The journaling is simple.  It's under a rare picture of me.  I matted the picture with the same cardstock I used under the vellum.  Some day these albums will go to my kids and (future) grandkids.  I want them to know they are never far from my thoughts, so I left them a little love note under my picture, then added another basic rhinestone. 


Basic Rhinestones Jewel Accents - by Stampin' Up!
Basic Rhinestones

2011 In Color Stampin Write Markers - by Stampin' Up!
2011 In Color Markers

Creative Blessings,
Heather North