

I can't believe I am going to do this. Back in October when I was having an especially creative flow of cards and scrapbooks I found myself working with just a tiny scrap of space. Have you ever found yourself in this predicament? Where you create yourself into just a tiny scrap of table that isn't covered in the mess you haven't put away? Perhaps it's just me. I hang my head in shame. LOL. Part of the predicament is that I went from being predominantly a scrapbooker to catching the card making bug. My room was set up more for scrapbooking, but my card making supplies were taking over with no place to hide.
That's when I made a couple of decisions. While I was ahead of the game in cards for my blog I did the following
1. I decided to hit the scrapbooking hard and whittle down my stash. Less to put away. ;)
2. As I was scrapbooking if I came across a paper, embellishment, etc. that I wasn't likely to use I put it in a give away box.
3. I began looking at my space differently and while I was in my scrapbooking corner I started thinking about how I could convert it to my card making space.
 Here are my photos of shame. (or bliss if you are a paper crafter/collector) ;)
Cricut/BigShot/Cuttlebug Corner
 As you can see, my Big Shot isn't even here. I have it on the Formal Dining Room table so there is enough room to run my dies through them. The cuttlebug is something I purchased before becoming a demonstrator, and needs a new home. Any takers? CLICK HERE
My Cricut is used mostly for my scrapbooking and yet it is on the OPPOSITE end from where I scrapbooked. Crazy, huh?
Here is my after. I still need to get a couple of things to make this space more functional, like a tool caddy for my Cricut tools, instead of that purple bag that is falling over on top, but it functions much better with a clear space in front of the Cricut and most of non-SU paper stored beneath.

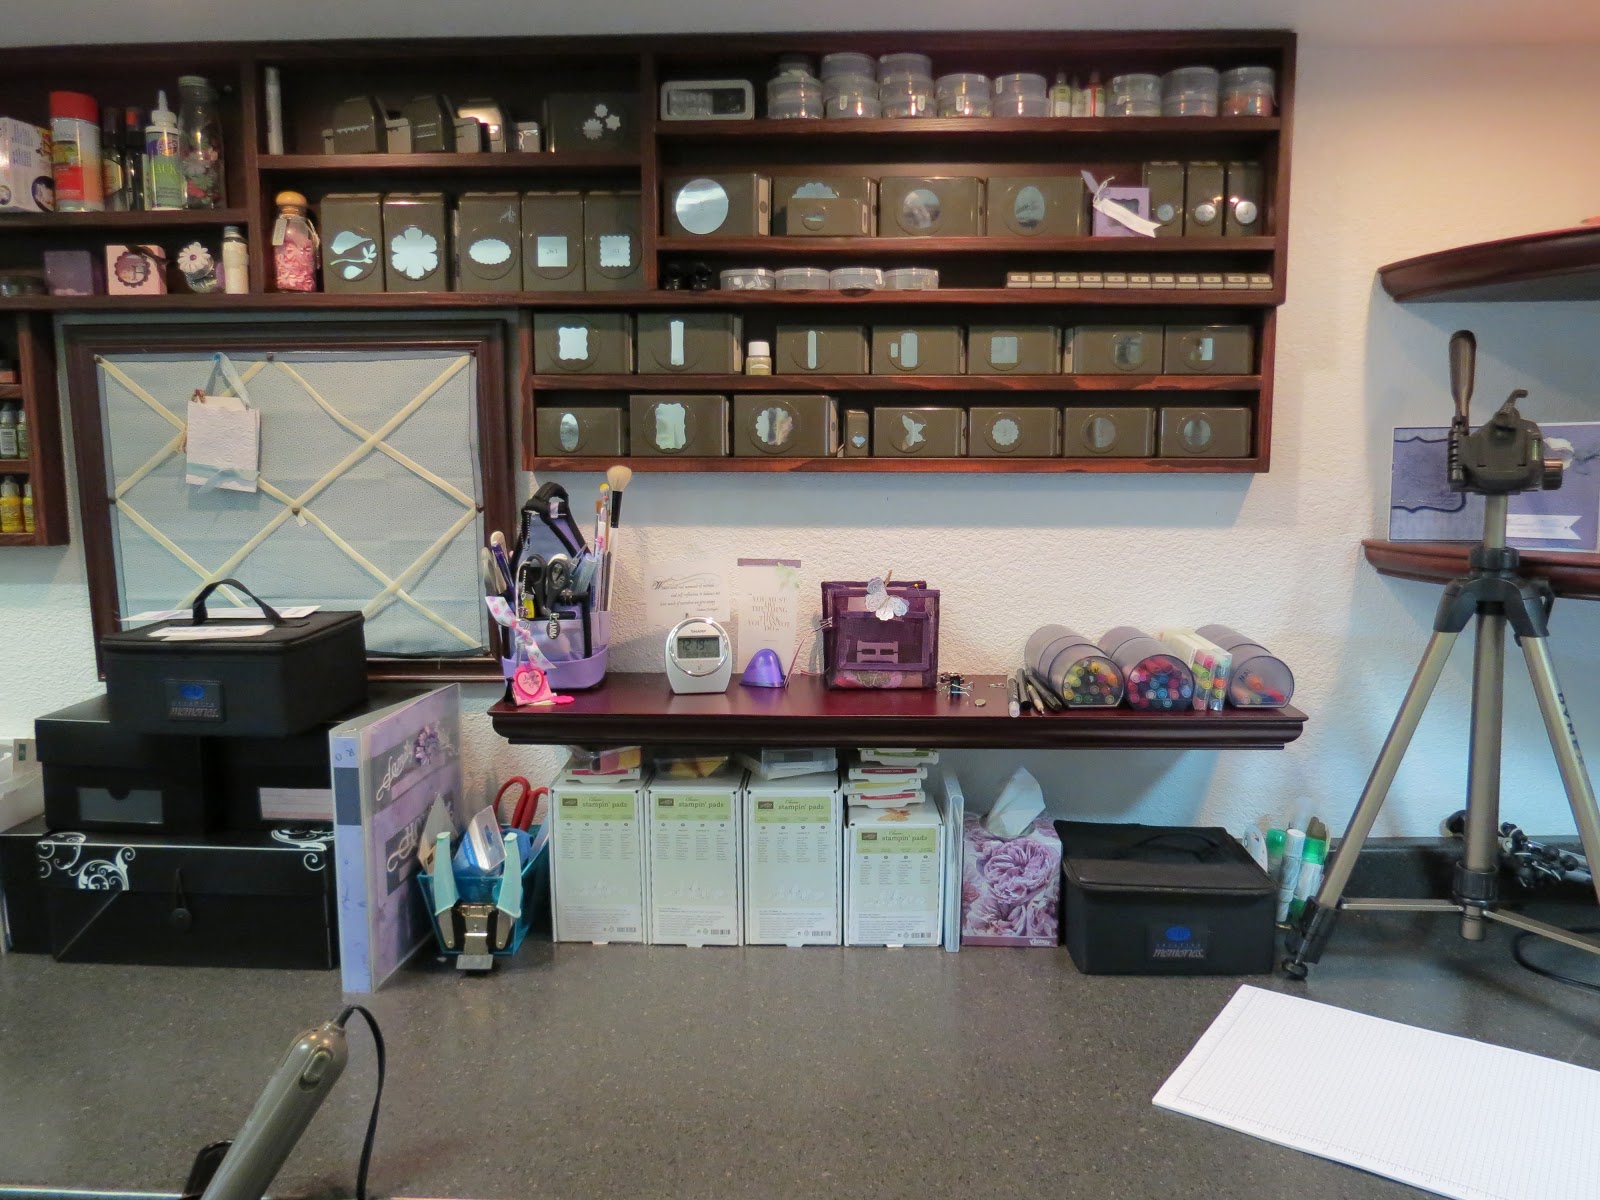
The picture below shows were my card making station was, in the middle of my space. In my (meager) defense I've always done a little card making, so when we designed the room this was my little spot that had shelves to hold my supplies and a bit of counter space. I was not very good at making cards so I didn't make very many. It wasn't until I dived into Stampin' UP full time that making cards well finally clicked for me. In the process my supplies exploded in this area. The biggest problem with this area is it is a narrow room and my husband sits behind this area when he is in the room and we are constantly bumping into each other. There's also no space to put my supplies or set up my camera.

Look up on the wall and you will see the 2 reasons I have changed things around sooner. My sweet hubby built me those shelves and they were built to fit the SU punches. In the scrapbook area I don't have as many rows for my punches. Reason 2 is the lovely Create Wall art I got from SU. I love looking at it every time I sit down to create. Silly reason, I know.
 Here is the problem though, I don't have room on the "table" for my inks and stamps, so they sit in boxes at my feet. Not very convenient and a pain for hubby when he is in the room with me. Plus I have stuff under the table I will never use. Time to gift or sell them to somebody else. (or possibly just throw them away. lol)
By switching where I scrapbook with where I make cards I was able to change that space into this:
 All my supplies for scrapbooking are together. I have table space to spread out and the floor is cleaned up. :) I want to get another shelf to put on the wall under the ones my DH built for me. Then I could get even more things off the counter, but still have them within reach.

That brings me to my old scrapbooking corner. As far away from my Cricut as it can get in this room. Full of wonderfulness and items I may never use again. Styles change and new (better) products come out. As I said in the beginning of this post I just needed to use up what I have and as I go through my stuff, pull out what I won't ever use.
****Can you tell I wrote the shame part of this post before I started working on my room? I was going to do a page of "before"s and then a post the next day with "after"s, but I'm putting them all in one long post.

While cleaning the room I have also been researching ways to store my stampin' stuff. My DH is going to help me build some custom shelves for my ink pads and ribbon, but for now they have a place to go that is off the floor. The boxes they come in work pretty well for now.
A box of sheer goodness relegated to the floor. :( Those stamp sets deserve to be up on a shelf where I can see them and use them!)

Now they are on display and within easy reach in my new stamping corner. I also have a place for my Big Shot to spread out. The basket on the lower right shelf holds all my dies, framelits, embosslits and embossing folders.

So there you have it. My shame. (aka chaos)

To my Serenity. (aka Bliss)
 There is still work to be done and I will be tweaking things as I use the space to be sure it fits my needs, but I can now begin crafting in my special room again. This room is definitely one of the blessings in my life. Thanks for joining me in my room today. Hope I didn't scare you too much.
Creative Blessings,
Heather North
P.S. I thought about clearing off the counters even more and putting things away that aren't as pretty, but I opted for showing you my functional (in progress) space. We crafters can be a messy lot, but only when the creativity is flowing, right?
Time for me to go see about making a couple more cards and finishing that scrapbook.
That's when I made a couple of decisions. While I was ahead of the game in cards for my blog I did the following
1. I decided to hit the scrapbooking hard and whittle down my stash. Less to put away. ;)
2. As I was scrapbooking if I came across a paper, embellishment, etc. that I wasn't likely to use I put it in a give away box.
3. I began looking at my space differently and while I was in my scrapbooking corner I started thinking about how I could convert it to my card making space.

Cricut/BigShot/Cuttlebug Corner

My Cricut is used mostly for my scrapbooking and yet it is on the OPPOSITE end from where I scrapbooked. Crazy, huh?
Here is my after. I still need to get a couple of things to make this space more functional, like a tool caddy for my Cricut tools, instead of that purple bag that is falling over on top, but it functions much better with a clear space in front of the Cricut and most of non-SU paper stored beneath.

The picture below shows were my card making station was, in the middle of my space. In my (meager) defense I've always done a little card making, so when we designed the room this was my little spot that had shelves to hold my supplies and a bit of counter space. I was not very good at making cards so I didn't make very many. It wasn't until I dived into Stampin' UP full time that making cards well finally clicked for me. In the process my supplies exploded in this area. The biggest problem with this area is it is a narrow room and my husband sits behind this area when he is in the room and we are constantly bumping into each other. There's also no space to put my supplies or set up my camera.

Look up on the wall and you will see the 2 reasons I have changed things around sooner. My sweet hubby built me those shelves and they were built to fit the SU punches. In the scrapbook area I don't have as many rows for my punches. Reason 2 is the lovely Create Wall art I got from SU. I love looking at it every time I sit down to create. Silly reason, I know.

By switching where I scrapbook with where I make cards I was able to change that space into this:


That brings me to my old scrapbooking corner. As far away from my Cricut as it can get in this room. Full of wonderfulness and items I may never use again. Styles change and new (better) products come out. As I said in the beginning of this post I just needed to use up what I have and as I go through my stuff, pull out what I won't ever use.
****Can you tell I wrote the shame part of this post before I started working on my room? I was going to do a page of "before"s and then a post the next day with "after"s, but I'm putting them all in one long post.
While cleaning the room I have also been researching ways to store my stampin' stuff. My DH is going to help me build some custom shelves for my ink pads and ribbon, but for now they have a place to go that is off the floor. The boxes they come in work pretty well for now.
A box of sheer goodness relegated to the floor. :( Those stamp sets deserve to be up on a shelf where I can see them and use them!)

Now they are on display and within easy reach in my new stamping corner. I also have a place for my Big Shot to spread out. The basket on the lower right shelf holds all my dies, framelits, embosslits and embossing folders.

So there you have it. My shame. (aka chaos)

To my Serenity. (aka Bliss)

Creative Blessings,
Heather North
P.S. I thought about clearing off the counters even more and putting things away that aren't as pretty, but I opted for showing you my functional (in progress) space. We crafters can be a messy lot, but only when the creativity is flowing, right?
Time for me to go see about making a couple more cards and finishing that scrapbook.


