9.11.2012

I Remember

My son had an assignment due today asking 2 questions:

1) Where were you when you first heard about the attacks on 9-11-01?

2) What do you remember about 9-11-01?

It stunned me at first to hear my son say he doesn't really remember that day.  Don't get me wrong, he knows what happened, he just doesn't remember living through it.  Of course, he was just starting Kindergarten when our nation was attacked.  It's no surprise that he barely has any memory of that day.  I held him close, but I also tried to protect him from the fear I felt 12 years ago today.

His assignment was to also ask someone in their 20's and someone else in their 30's what they remember.   Personally I don't think I will ever forget where I was, how I heard, the sight of the second plane flying into the twin towers, the tears & fears of those in the midst of the rubble nor the heroes at ground zero.   Today my card is a remembrance card for all those who were affected on 9-11

 
It's important to never forget and also to continue to live.


Creative Blessings,
Heather North

Stamps: Loving Thoughts, Word Play, Fresh Vintage (SAB~Retired)
Ink: Midnight Muse, Bashful Blue, Raspberry Ripple
Paper: Sahara Sand, Raspberry Ripple, Midnight Muse
Misc.: Cherry Cobbler Baker's Twine, Basic Rhinestones, Square Lattice Embossing Folder


9.10.2012

Retro Coloring ~ rs#28

More fun with coloring today.  When I was young I used to love coloring in my coloring books.  As I got older I thought I was not creative because I couldn't draw or paint.  Now I know better.  I just needed to find the right medium to work with and some good teachers along with lots of practice.  That is how I came up with my blog name.  To me, being creative is a blessing because for so long I didn't think I was.


I'm no expert, but I do like to share what I know with anyone who is interested.  That is why I filmed a video after making this card.  I thought it might have some tips in it that you hadn't heard before.   In the video I will show you how I used a blender pen and an aqua painter to color in my image.


I will also show you how I made the bow.

***Note, you may need to go to my blog to view the video below.***


Shout out to this week's Retro Sketches for their inspiring sketch.  I flipped it, but you can easily see how I was inspired.   I LOVE sketches!


Creative Blessings,
Heather North

Stamps: Summer Afternoon  (hostess)
Paper: Festival of Prints DSP Stack, Very Vanilla, Lucky Limeade
Ink: Cherry Cobbler, Crumb Cake, Lucky Limeade, Basic Gray, Island Indigo
Misc. Cherry Cobbler Scallop Dots Ribbon


9.09.2012

Scrapbook Sunday

Here's another page from our trip to Oregon in 2009.  I actually used (mostly) Stampin' UP! products for this 2 page spread.  I think the only thing that isn't SU is the sparkly black pen I used for dash lines.


On the LHS (left hand side) I have pictures from the Tillamook Cheese Factory.  :)

The RHS (right hand side) has pictures from Cannon Beach.  I used my Cricut to cut out the letters. 

To tie the two pages together I used the same papers.  I used the red sparingly on the RHS, using the scalloped ribbon border punch.
It is amazing to me how much our boys have grown and changed in the past 3 years.  That is why I think I will always cherish scrapbooking...I love the memories I get to relive each time I create or look at one of my scrapbooks.

I also managed to do a digital page last week.  It was a super easy one.  I basically just dropped in a picture into one of the templates that was on the MDS+2 program, added some text and a few swirly stamps.  :)  Easy is good!


Creative Blessings,
Heather North

Here are the supplies I used for the traditional layout:

Storytime Designer Series Paper
Storytime DSP


12 X 12 Smooth Card Stock - Neutrals Collection - by Stampin' Up!
Sahara Sand (retired textured) Cardstock

Dotted Scallop Ribbon Border Punch - by Stampin' Up!
Dotted Scallop Ribbon Punch

9.07.2012

Forever ~ TSOT#82


I filmed a video while making this card, but it's reallllllllllly long, so I need to edit it down.   In the meantime though I thought I would show it to you.  :)

Inspiration came from this week's sketch on Try Stampin' On Tuesday.


It's a tent fold card, and I decorated the inside as well. 


Creative Blessings,
Heather North

Stamps:  Forever With You
Ink: Primrose Petals
Paper: Whisper White, Gumball Green, Snow Festival DSP
Misc.: Gumball Green Stitched Satin Ribbon, Vintage Trinkets, Jewelry Tag Punch


9.05.2012

God's Work of Art

It's so much fun to spend some time each day in my craft room.  :)  Here is today's creation.   


When I saw today's Colour Q challenge I thought it would be perfect for this stamp set.  The colors combine to look like the end of summer to me.  I don't have Soft Sky, it must be a retired color, so I substituted with Pool Party.  I had to add a bit of green (Pear Pizzaz) for the grass and leaves, but I used some So Saffron to the plant leaves to keep it close to the original challenge.


Here is a close up so you can see some of the details.   The coloring was done mostly with a blender pen, but I used an aqua painter for the sky and ground. 

 
The hardest part of this card was figuring out how to add the sentiment.  I ended up stamping the sentiment twice.  First in Pool Party, and then in Chocolate Chip.  I punched that out with the Large Oval punch, then used dimensionals to adhere it to the Pool Party Blossom Punch out.  The blossom leaves were curled using a bone folder. 


What will you create using these colors?  Will you make an outdoor card to celebrate the end of summer?


Creative Blessings,
Heather

Stamps: Summer Afternoon (hostess), Trust God
Paper: Sweet Shop DSP (retired),
Misc.: Designer Brushed Bronze Button, Calypso Coral Ruffled Ribbon, Calypso Coral Bakers Twine, Lacy Brocade Embossing Folder


9.04.2012

Best Day

Wouldn't this be a great card to tuck into your child's lunch pail or backpack letting them know you think they are the Best?  How about giving it to a teacher for a little encouragement?  That's what I was thinking when I made today's card.


I started with a sketch, but then went so far away from the sketch that the finished card looks nothing like the original.  :)  That is okay though.  Sketches should give us inspiration, sometimes we use that to CASE with our own supplies, and other times they are a jumping off point into something completely different.

Close up so you can see the details.  :)  I made my own background paper when the paper I had didn't work.


Creative Blessings,
Heather North

9.03.2012

Keep Calm & Stamp On

You may not believe this, but I designed this card ALL By MYSELF!  No sketches or challenges involved.  :)  Basically, I let the stamping be my guide.  The only thing I knew going into this card was that I wanted to use this stamp set, and I wanted ribbon wrapped between the two phrases.


Don't you love this stamp set?  It was not available for awhile, but you can get it now with your hostess $$$ 


Carry On Clear-Mount Stamp Set
Carry On Clear (Hostess Set)
I thought about using the sentiment "Cry A Little (if needed)" because this is the card I made when my kids went back to school.  Every year after I drop my kids off I do cry a little.  (or a lot)   The reason I chose "Stamp On" is that I am going to send this to someone who needs a little cheering up and I thinking stamping does make her feel better.  :)

The flowers were a happy accident.  I stamped them and then pulled out most of my punches trying to decide which one I wanted to use.   I ended up punching it out with the Boho Blossoms Punch, then layered them with the new small scallop circle punch.  Then I added a silver brad to the center of each flower and popped them up on dimensionals.


This card certainly lifted my spirits and I hope it will for my friend as well.

Creative Blessings,
Heather North


Polka Dot Parade Designer Series Paper
Polka Dot Parade

Rich Razzleberry 1/4" Stitched Grosgrain Ribbon
Rich Razzleberry Stitched Grosgrain Ribbon


9.02.2012

Back to School Mojo

Two posts in one day!  I know, it's SHOCKING!!!  :)  I wanted to get this card up on my blog before the challenges end though, and one of them ends at 8pm, so here is my second post for the day.


Aren't those kids sweet?  I used a blender pen to color them in.  Here is the Mojo Monday Sketch I used:


Usually I struggle with color challenges, but this week's  Colour Q challenge actually made my card come together faster.  :)  I really like the combination of colors.  The best part is, you still have time to enter this challenge, because it ends on Monday!  :) 

Hope you are having a great Labor Day weekend and you get some free time to be creative!


Creative Blessings,
Heather North

Stamps: Greeting Card Kids
Ink: Black Staz-On, Plus all the Marker Colors listed in the Colour Q challenge
Paper: Twitterpated DSP, Festival of Prints DSP Stack, Be of Good Cheer DSP
Misc.: Blender Pen, In Color Designer Printed Brads, Boho Blossoms Punch, 2 1/2" Circle Punch, Non SU white paper flower

Tillamook Air Museum ~ Scrapbook Sunday

This layout has taken me all summer to finish.  Why, you might ask?  Well, it's because I couldn't decide whether I was going to scrapbook these pages in our family album or create a separate album of just our trip.   Once I decided to make a separate album I had to decide on just a few pictures that would fit on a 2 page spread, so that when we look through our 2009 family album we will be reminded of this trip.  I took sooooooooooooooo many pictures.  Anyway, I am happy to have finished this layout.  Perhaps I will get on a roll with my scrapbooking again now that I have passed this hurtle.


I didn't use very much Stampin' UP! product on my pages.  I've considered myself a scrapbooker long before I became obsessed with cardmaking, so I have built up quite the stash, including this paper I bought just for this trip.


The paper had this airplane banner on one side, and glittery circles on the other.  The side with the glitter had a frame with the sentiment "PERFECT" on it.   It was hard to decide which side to use.   In the end I used both.  I simple cut the paper apart at about 3" and again at about 7".  I took the 3" piece and flipped it to the airplane side, then I added a strip of shimmery blue paper in between. 

On the flip side I used a larger piece of the shimmery blue paper.  I used up the 2" scrap left over from the left hand side and put it at the top of my page.  Then I used a new sheet of paper, and cut another 3" piece of airplane paper for the bottom.  The shimmery piece wasn't quite long enough so I made some banners out of the paper to mimic the banner that the plane is pulling.

Here is where I did use some SU.  I used Basic Gray to mat the picture of my DH with his all time favorite plane.  Then I stamped Bliss from a retired SU set, and used the brand new Designer Flourish Frames that are on page 8 of the 2012 Holiday Mini catalog.  The frame lays fairly flat, so it doesn't add too much bulk to my page.  (about the same or a little less than a dimensional)


This page was a long time in the making, but I love the results!

Creative Blessings,
Heather North

Silver Flourish Designer Frames
Silver Mini Brads
Silver Mini Brads

9.01.2012

Family & Friends Update

Like many of you, my kids went back to school last week.  It's been crazy busy around here the last couple of weeks, and I am looking forward to getting back into a routine.  :)   Here are a few pictures of what we have been up to. 

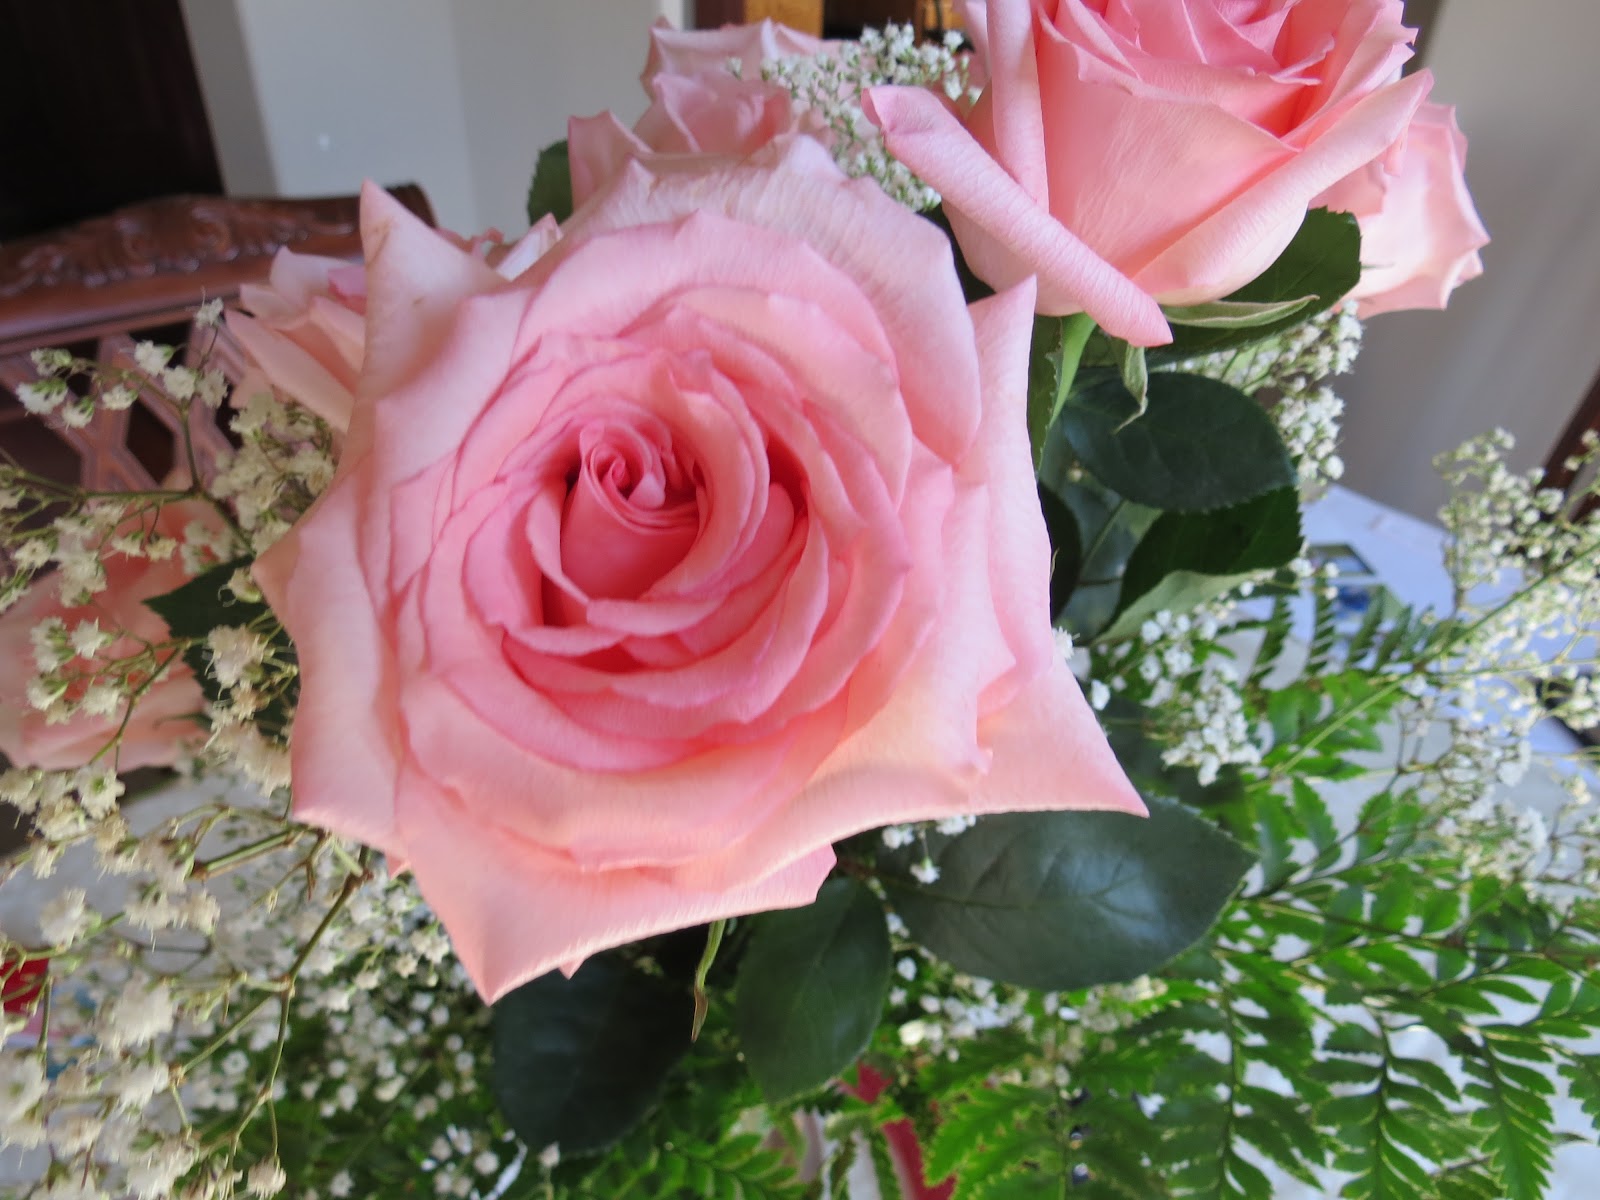
First up are my "Just Because I Love You" flowers that my husband gave me.  Every woman should get flowers once in awhile from somebody who loves her.  <3  I am blessed.  I posted a picture of them on Facebook when I first got them.  They started out as buds, but have now fully bloomed.  Aren't they lovely?


We have a tradition in our home that my kids LOVE!  On the last day of summer vacation we take an "end of summer field trip".  We've gone to museums, parks, beaches, the zoo, etc.  This year I changed it up and took them to Family Fun Center. 


My oldest turned 16, the next day.  Poor guy had school start on his birthday.  :(  He was not too excited about that.  I took this picture of the boys before driving them to school.  As you can see our kitty, Sasha, wanted to be in the picture too. 


We made up for it after I picked up the kids after school with lots of extra TLC along with cake and ice cream.  :)  Not to mention presents. 


My DH's shed is almost done.  I actually helped him paint the trim.  :)  Now he is doing the finishing work like putting handles on the door, and adding shelves inside.  The dog still thinks the house is his.  :)  I don't have any pictures of the shed after we painted it, but I do have another picture to share with you.  This was outside our bedroom window.  I was sitting on my porch swing that we have on our balcony and I heard this buzzing.  At first I thought it was a fly, but I looked down and saw a couple of dead wasps.  For some reason that made me look up, and I saw this:
That nest was just about a foot from my head!  YIKES!!!  I won't share the other creepy pictures from that day.   Instead I will show you another beautiful one.


Come back tomorrow to see the scrapbook layout I FINALLY finished.  I started it a couple of weeks ago, and didn't have time to adhere the final pictures until the kids were back in school.  :) 

Creative Blessings,
Heather North